
Few home projects feel as mysterious as a new roof. Strangers climb above your head, there is a lot of noise, and one day you look up and everything is different. If you are weighing a full roof installation in Tucson, knowing what to expect can turn a stressful week into a manageable one. This guide follows a typical project from the moment you sign the contract to the final walkthrough, with notes on what you should do, what the crew should do, and what questions to ask along the way.
Every project differs by size, roof type, and weather, so treat the timeline below as a general picture, not a promise. Your contractor will give you the specifics for your home.
The Days Before Work Starts
Day Minus 14 to Minus 7: Estimate and Decision
The process begins with someone looking at your actual roof. At Reality Roofing, for example, owner Dave Porter personally visits to investigate and provide an on-site estimate, and a free inspection is part of the process. A good estimate names the materials, the underlayment, the flashing, how old materials will be removed, and the warranty. This is also the moment to ask about your options, since the company installs asphalt shingle, tile, metal, and flat roofing systems for residential and commercial buildings.
Contract Signing and Scheduling
Read the contract carefully before you sign. Look for the scope of work, the materials by name, the price, the payment terms, and warranty details. Reality Roofing’s FAQ says all work requires a deposit before the job begins, with the balance due once the roof work is complete, and the company promises a confirmed build date within 48 hours of signing. Whoever you hire, ask exactly when you will hear about your start date and what happens if the weather changes the plan.
Day Minus 2 to Minus 1: Your Prep List
A little homeowner preparation makes installation day smoother:
- Move vehicles out of the driveway and away from the house.
- Clear the perimeter. Bring in patio furniture, grills, planters, and decorations.
- Protect the attic. Cover stored items, since vibration can shake loose dust and debris.
- Take down wall hangings on upper-floor walls, because hammering can rattle them.
- Think about the pool and air conditioner. Reality Roofing notes that pool and AC protection is the homeowner’s responsibility, so ask the crew what they recommend and plan covers in advance.
- Plan for pets and children. Noise and falling debris make the yard a poor place for them.
- Tell your neighbors. A quick heads-up prevents surprises about noise and parked trucks.
Day One: Tear-Off and Inspection
Crews typically arrive early, especially in a hot desert climate, to get as much work done as possible before the afternoon heat. Expect trucks, ladders, tarps, and a dumpster or trailer for debris.
What happens:
- Protective coverings go over landscaping and nearby surfaces.
- The old roofing material comes off, section by section.
- Crew members expose the roof deck, the plywood or boards beneath.
- The deck gets inspected for rot, moisture damage, or soft spots.
The deck inspection is the most important moment of the project. Hidden damage cannot be priced precisely until the old roof is removed, so ask in advance how your contractor handles surprises. A trustworthy company explains what they found, shows you photos, and gives you a written price before doing extra work.
Day Two: Dry-In and Underlayment
Once the deck is sound, the roof needs to be “dried in,” which means covered with underlayment so it can shed water even before the final surface goes on. This layer matters a great deal. On tile roofs especially, the tiles are only part of the protection, and the underlayment beneath does much of the waterproofing.
What happens:
- Damaged decking is replaced or repaired.
- Underlayment is installed across the entire roof.
- Flashing is set around chimneys, vents, skylights, valleys, and edges, since these spots are common leak points.
Ask your contractor which products they are using and why. Quality at this stage determines how well the roof will perform for years.
Day Three and Beyond: Installing the Roof Surface
How long this stage takes depends on the system you chose.
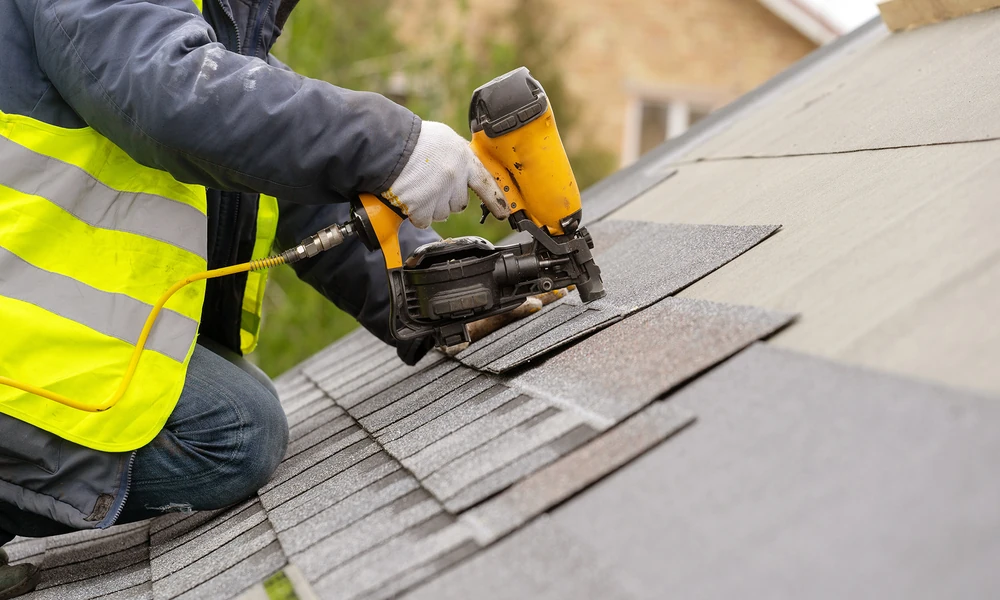
- Asphalt shingles are installed in overlapping rows from the bottom up.
- Tile roofs take more time because tiles are heavier, are set carefully, and require attention to spacing and attachment.
- Metal roofing panels are measured, cut, and fastened with precision, and may be standing seam, corrugated, or metal shingles.
- Flat and low-slope roofs use membranes or layered systems such as TPO or modified bitumen, installed in sheets and seamed or sealed.
If you are considering a reflective surface for Tucson’s heat, ask whether a cool roof product fits your roof. ENERGY STAR reports that cool roofs work best in hot sunny climates, and the same guidance notes that lower roof surface temperatures can slow wear on roofing materials. Your roofer can tell you which products and colors meet the performance level you want.
Working Around the Weather
Weather is the one variable no contractor controls. Monsoon season officially runs from June 15 through September 30, and storms can bring sudden downpours, lightning, high winds, and dust. A responsible crew watches forecasts closely, never leaves a tear-off exposed overnight without protection, and will pause or reschedule when conditions are unsafe. The National Weather Service office in Tucson publishes monsoon, thunderstorm, lightning, and heat safety resources on its safety and preparedness page, which can help you plan around storm days.
A big reason to schedule roofing outside peak storm months is simple: there is less risk of delay and less risk to your home while it is open. Still, even in calmer seasons, ask about the plan if rain is forecast.
Final Day: Cleanup, Inspection, and Walkthrough
When the last piece of roofing is in place, the job is not finished. Look for these closing steps:
- Debris removal from the roof, gutters, yard, and driveway
- Magnetic sweep of the property for stray nails, which many roofers do as a standard safety step
- Final inspection of flashing, ridges, edges, and penetrations
- Walkthrough with you or a representative to review the work and answer questions
- Documentation of warranties, materials used, and any care instructions
Do not make the final payment until you are comfortable with the work, and make sure your paperwork matches what was promised.
Understanding Your Warranty
Warranties come in layers. A workmanship warranty covers how the crew installed the roof, while manufacturer warranties cover defects in the materials themselves. Reality Roofing says its workmanship warranties range from 2 to 20 years depending on the roof application, and that warranties cover workmanship and material defects per manufacturer specifications. The company also lists exclusions, including damage from third-party installations, extreme weather events, improper maintenance, and pre-existing structural issues unrelated to its work. Whatever contractor you choose, read the fine print and keep copies in a safe place.
Your Quick Questions Checklist
Bring these to your estimate meeting:
- Who will actually be on my roof, and who supervises the crew?
- What materials and underlayment are included, by name?
- How do you handle hidden deck damage?
- What protection do you provide for landscaping, the pool, and the AC unit?
- When will I get a confirmed start date, and how will weather changes be communicated?
- What does the workmanship warranty cover and exclude?
- How is cleanup handled, and will you do a final walkthrough?
A Smoother Roof Project Starts With a Conversation
A new roof is a major investment, and the best projects begin with clear communication on both sides. If you are ready to talk through your options, call Reality Roofing at (520) 304-9020 to schedule a free inspection and estimate. Ask every question on your list, and expect straight answers in return.

Comments are closed.